

Recording music through headphones produces a usable, bleed-free track and lets you monitor while you perform. How to record music through headphones matters whether you’re tracking vocals, acoustic guitar, or building beats at home – this guide gives a clear workflow, required gear, step-by-step instructions, examples, troubleshooting, and practical next actions.
What you’ll accomplish and what you need before you start
Recording through headphones lets performers hear a backing track or click without that sound being picked up by the microphone. The routine that follows assumes you want an isolated, clean recording suitable for editing and mixing in a DAW.
Essential items include a computer or mobile device, recording software (a DAW or a smartphone app), a microphone or instrument pickup, headphones, and a way to route audio so the performer hears playback without that sound leaking into the mic. USB microphones, audio interfaces, and small mixers each solve routing differently; pick the one that matches your budget and portability needs. Low-latency monitoring removes the distracting delay between playing and hearing yourself, and closed-back headphones reduce spill into the mic when a performer must listen to loud playback.
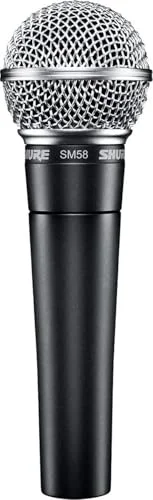
Plan for a quiet recording space and a simple signal chain. Close windows and doors, switch off noisy appliances, and place the microphone away from computer fans when possible. Microphone type affects technique: dynamic mics tolerate closer placement in untreated rooms, while condenser mics capture more room ambiance and require a quiet environment and, often, an external preamp in the chain.
How headphone monitoring works and why latency matters
Headphone monitoring can be direct (hardware-based) or software-based, and the choice affects latency and the realism of what the performer hears. Direct monitoring sends the input signal straight from an audio interface to the headphones without routing through the computer, which avoids buffer-induced delay. Software monitoring routes the mic through the DAW, passes it through plugins and effects, then returns it to headphones – useful for monitoring with reverb or pitch correction, but potentially delayed.
Latency becomes audible when the time between playing and hearing exceeds a performer’s tolerance. Vocalists and rhythm players will notice very small delays; sensitivity varies by person. Lowering your audio buffer in the DAW reduces round-trip latency, while higher buffer sizes allow more plugins and heavier CPU use but increase audible delay. Interfaces frequently offer dedicated knobs or settings for mixing direct input with playback, letting a performer blend dry direct sound and wet DAW playback to taste.
Monitoring at a realistic level prevents over-singing and keeps performances natural. Closed-back headphones help isolate the performer from playback, cutting the chance that the headphone sound bleeds into the microphone. Use low headphone gain for tracking to reduce bleed while still giving a clear reference for timing and pitch.
Step-by-step workflow for recording through headphones
After comparing common workflows side by side, the biggest practical difference is where monitoring happens – at the interface (low latency) or inside the DAW (flexible effects). Follow these numbered steps for a reliable, repeatable session.
- Choose and prepare your recording space.
– Move away from reflective surfaces if possible and place a towel or blanket behind the mic for quick dampening if you lack acoustic treatment.
– Turn off noisy electronics and set your phone to Do Not Disturb.
- Connect your gear and confirm signal path.
– Plug the microphone or instrument into the interface or USB mic into the computer.
– Insert your headphones into the interface’s headphone output, not the computer speakers.
- Open your recording software and create a new project.
– Create one audio track per source and label tracks clearly before recording begins.
– Set the track input to match the physical input on the interface.
- Set levels and check gain staging.
– Raise the interface preamp so the signal is strong but not clipping in the DAW.
– Tap, speak, or play at a performance loudness and watch the input meter; keep the peaks below full scale to leave headroom for processing.
- Configure monitoring: direct or software.
– Enable direct monitoring on the interface if available for near-zero latency.
– If you need effects while tracking, enable software monitoring in the DAW and reduce buffer size to lower latency.
- Run a test take.
– Press record and perform as you would on the final take.
– Listen back through headphones for timing, pitch, and any unwanted noise.
- Repeat with multiple takes and save each file.
– Use clear filenames and take numbers to keep comping simple later.
– Back up initial session files to an external drive or cloud storage before extensive editing.
- Comp, edit, and bounce the best performance.
– Use region-based comping or playlist lanes in your DAW to combine parts from several takes.
– Export stems or a stereo bounce for mixing.
Headphone monitoring options and how they compare
Choosing a monitoring approach changes simplicity, latency, and the ability to hear effects while performing. Ranked by monitoring latency and then by flexibility, the main options are direct monitoring through an audio interface, monitoring through a hardware mixer, and software monitoring in the DAW.
| Name | Price / Key Spec | Best For |
|---|---|---|
| Direct monitoring (interface) | Price: budget to pro; Key spec: hardware loopback, near-zero latency | Singers and instrumentalists who need no-delay monitoring |
| Small mixer with headphone send | Price: budget to midrange; Key spec: multiple headphone mixes | Bands and live tracking where multiple performers need independent mixes |
| Software monitoring (DAW) | Price: depends on DAW; Key spec: plugin/FX monitoring | Producers who want to monitor with reverb or pitch correction during tracking |
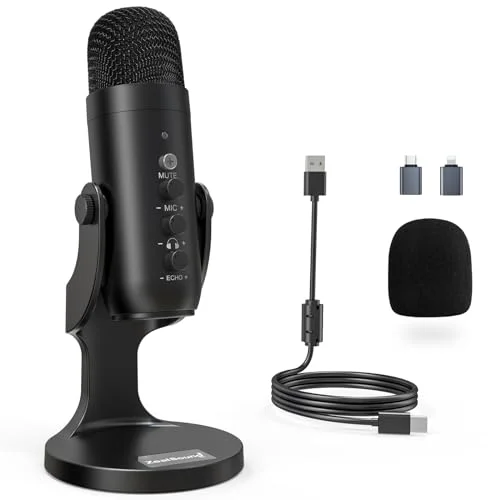
| USB microphone monitoring | Price: budget to midrange; Key spec: integrated headphone jack | Mobile or entry-level users who need simple setup without an interface |
| Portable multitrack recorder | Price: midrange; Key spec: onboard preamps and headphone output | Field recording and singer-songwriters needing portability |
Direct monitoring wins for latency-sensitive tracking, while software monitoring wins for hearing processed vocal effects in real time. Mixers are best when multiple musicians require distinct headphone mixes during a live take.
Examples: setting up common recording scenarios
These examples show specific, practical setups you can replicate quickly.
Vocal with audio interface and closed-back headphones:
- Position the mic at a consistent distance based on mic type. Dynamic mics work well close-up; condensers typically sit a bit farther away.
- Enable direct monitoring on the interface, create a mono track in the DAW, and disable software monitoring if you don’t need live effects.
- Ask the vocalist to use a low headphone level that still provides a clear guide without causing them to push their voice harder.
Acoustic guitar with a single mic and click track:
- Place the mic aimed at where the strings and soundhole balance, then adjust by ear for tonal preference.
- Send a click track and backing track to headphones only, and use direct or low-latency monitoring to keep timing tight.
- Record multiple passes with slightly different mic placements to capture tonal options for later blending.
Electronic production using headphones only:
- Use software monitoring and lower the buffer as much as your CPU allows.
- Monitor with closed-back headphones to avoid any bleed if you plan to record a dry instrument with a mic later.
- Record MIDI and audio separately and keep the headphones level modest to maintain accurate mixing perspective.
Phone or tablet recording with headphones:
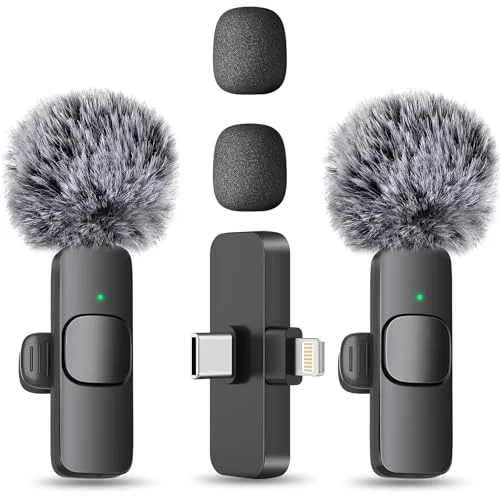
- Use an external microphone compatible with your device or a USB-C/Lightning interface if your mic needs phantom power.
- Plug headphones into the interface or phone adapter to monitor; avoid the device speaker during performance.
- Save raw audio immediately to the device and copy to a computer for backup and editing.
Troubleshooting: common problems and fixes
These troubleshooting entries target frequent issues encountered while recording through headphones.
Problem: Noticeable delay in headphones
- Cause: Buffer size too large or monitoring routed through the DAW.
- Fix: Switch to direct monitoring on your interface, or reduce the DAW buffer size. Close CPU-heavy plugins while tracking.
Problem: Headphone bleed into the microphone
- Cause: High headphone level, open-back headphones, or close mic placement.
- Fix: Use closed-back headphones, lower headphone volume, and move headphones slightly away from the mic capsule. Consider switching to an in-ear monitoring option if bleed persists.
Problem: Weak or distorted signal
- Cause: Incorrect gain staging or direct input clipping.
- Fix: Increase preamp gain for low-level sources, but reduce it if the DAW shows clipping. Check cables and connectors for damage.
Problem: No sound in headphones
- Cause: Wrong output routed, headphone jack in wrong device, or muted track.
- Fix: Verify the audio interface is selected as the system and DAW output. Check the interface headphone knob and ensure the track is not muted or routed to a different bus.
Problem: Unwanted room noise or reverb
- Cause: Mic sensitivity, room acoustics, or high mic gain capturing ambient sound.
- Fix: Use an isolation shield, move the mic closer to the source, or switch to a less sensitive microphone. Apply a high-pass filter in the DAW to reduce low-frequency hum and rumble.
Problem: Phase cancellation when combining close and room mics
- Cause: Mic distance differences or inverted polarity between tracks.
- Fix: Flip polarity on one track and listen; align tracks by nudging one region to match transient timing. Use time-alignment tools if available.
Recording specific sources
Vocalists, guitarists, and beat-makers have distinct needs when monitoring through headphones. These subsections give practical guidance for each.
Vocal tracking:
- Encourage consistent mic distance and a steady performance dynamic. Use a pop filter to reduce plosives and check for sibilance with a short test take.
- If a performer prefers reverb while tracking, add a small send reverb on the headphone bus only, keeping the recorded track dry unless you plan to re-amp later.
Acoustic instruments:
- Capture the instrument’s body and attack by experimenting with mic angles and positions. Place the mic slightly off the centerline to reduce boominess.
- Use headphones to monitor both the instrument and click; isolate the headphone mix so the performer hears more of the backing during complex parts.
Electric guitar DI plus amp mic:
- Track a direct input to the interface while simultaneously mic’ing an amp and sending the amp mic to headphones for performance feedback.
- Keep the DI and amp tracks separate for blending later and watch for phasing problems between the DI and mic.
Electronic instruments and MIDI:
- Keep DAW latency low and rely on the software’s monitoring for accurate effect sounds when performing with virtual instruments.
- Record MIDI where possible to allow easy editing after the take, and bounce audio only when you need to process a final rendered sound.
Best practices for session organization, takes, and comping
Organization speeds editing and prevents lost work. These guidelines are practical habits to adopt.
Label every track immediately after creating it. Use consistent naming conventions such as “Vox01Lead” or “GtrAComp” so you can find takes during comping. Save project files with descriptive session names and date stamps so you can revert to previous versions without guesswork.
Record multiple full takes before attempting punch-ins. Full takes capture performance flow and emotional decisions you might want to reuse. Create a dedicated “takes” folder or playlist lane within the DAW, and use region color-coding to mark good sections.
Comping becomes fast when you keep regions short and clearly named. Zoom to transients and use crossfades to avoid clicks; maintain phase integrity across comped regions by ensuring aligned transient timing. Preview the comp from the full project timeline, not just the selected regions, so effects and timing sit correctly in context.
Make regular backups after major edits. Duplicate the session folder to an external drive or cloud storage and increment the filename after major comp or mix changes. This habit prevents accidental data loss and preserves earlier creative choices.
When to upgrade gear and what to buy next
If your results are limited by hardware, prioritize upgrades that directly improve tracking quality or workflow.
Upgrade the microphone first if room tone and detail are the sticking points for vocal or acoustic recordings. Microphones differ dramatically in character; moving to a higher-quality condenser or a favored dynamic can yield immediate improvements.
Choose a better audio interface for lower latency, cleaner preamps, and expanded routing when you need multiple simultaneous inputs or multiple headphone mixes. Interfaces also provide balanced outputs and higher-quality converters, which reduce noise and improve headroom.
Invest in closed-back studio headphones for tracking if bleed remains an issue. Select headphones that provide an even, not exaggerated, frequency response so performers hear a reliable reference.
Add a small mixer or headphone amplifier if you record multiple musicians at once and everyone needs a different headphone mix. Look for gear with independent headphone outputs and simple level controls to reduce cue-mix setup time.
Checklist: quick pre-recording checklist you can follow every session
- Confirm silence in the recording room and disable notifications.
- Check cable connections and power for the interface and mic preamp.
- Verify the DAW input and output routing matches your physical connections.
- Do a soundcheck: set gain, test headphone mix, and run a short test take.
- Back up session files before heavy editing.
FAQ
Can I record with my phone and use headphones for monitoring?
Yes. Many mobile recording apps support headphone monitoring and external mics. Use an external mic or an interface compatible with your phone and plug headphones into the interface or adapter to avoid using the device speaker during tracking.
Should I enable reverb in the headphones when recording vocals?
Adding a small amount of reverberation on the headphone bus can help performers deliver a more natural take. Keep the recorded track dry unless you intentionally want the effect printed; apply reverb as an auxiliary send dedicated to monitoring.
How loud should my headphones be during recording?
Headphone volume should be loud enough for clear pitch and timing cues but low enough to prevent bleed into the mic and to avoid causing the performer to push their voice or instrument unnaturally. Start at a modest level and adjust based on performer comfort.
Is direct monitoring always better than software monitoring?
Direct monitoring is preferable for latency-sensitive tracking because it avoids round-trip delay. Software monitoring is better when you need to hear processing such as pitch correction or heavy effects while performing. Choose based on what the performer needs in real time.
What if my recorded tracks sound thin or brittle?
Thin recordings can be caused by poor mic placement, a microphone with an unsuitable tonal character, or excessive high-frequency presence from room reflections. Move the mic, try different angles, or experiment with gentle EQ cuts on the recorded track during playback.
Final action
Pick one song and run a short session using the workflow above: set up your interface or USB mic, enable direct monitoring, do three full takes, and then create a comp from the best phrases. Save the session and copy it to an external drive immediately so you can edit with confidence.

Leave a Reply